I have a small question about R34 and R35.
Being 0R I guess they are just links, right?
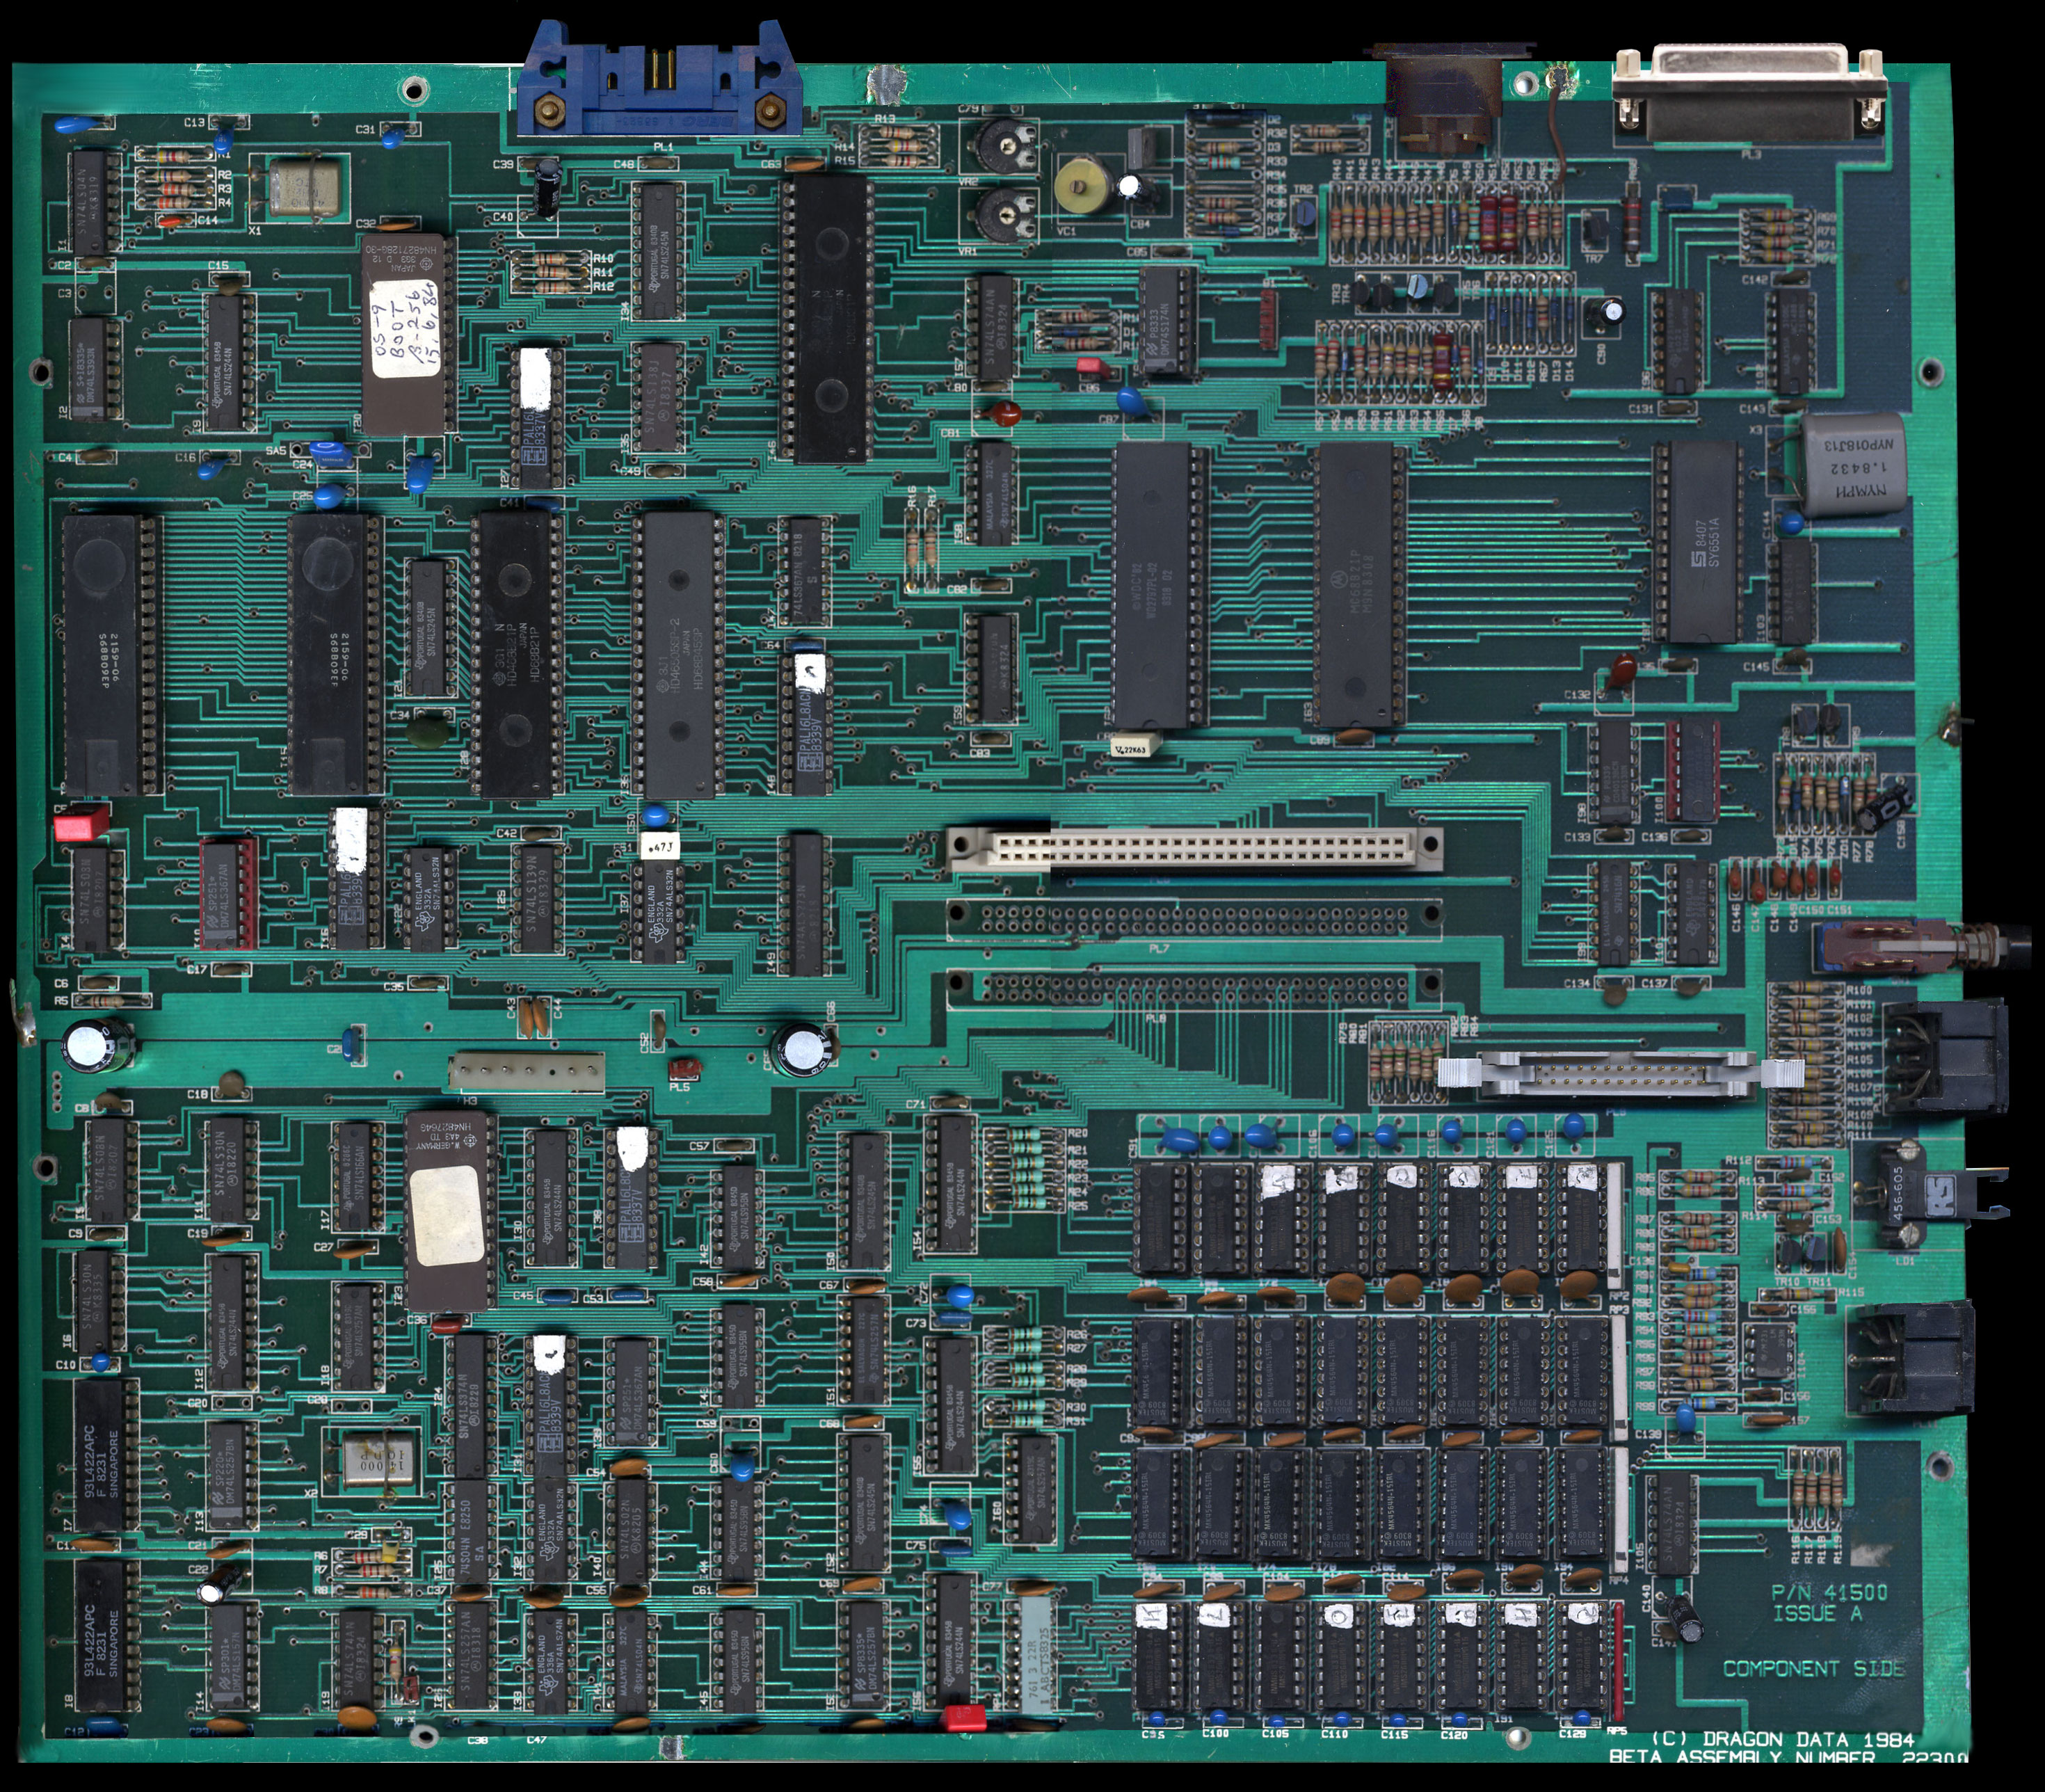
Do I need to connect both? On the populated Beta board picture here, I can see R35 installed, but not R34.
Dragon Beta GitHub
Re: Dragon Beta GitHub
Yes - I used KM4164 chips originally, although I swapped them out for Phill's modern memory boards afterwards.
You want these... https://www.aliexpress.com/item/4000215552439.htmlOh, how do I order the tree expansion connector in the middle of the board?
For the motherboard it's a straight female. Any expansion cards need right-angled male.
Re: Dragon Beta GitHub
Behold!
A fully assembled Dragon Beta board!
I need to make a video cable and probably use my trusty Meanwell PSU to power it. Fingers crossed...
A fully assembled Dragon Beta board!
I need to make a video cable and probably use my trusty Meanwell PSU to power it. Fingers crossed...
- Attachments
-
- DragonBetaReplicaRobcfg_FullyAssembled.jpg (428.91 KiB) Viewed 74110 times
Re: Dragon Beta GitHub
I've only just realised a slight problem with this board as released. Electrically, it is absolutely fine, but for some reason known perhaps only to my mind in another state or a KiCad upgrade, the set of 12 100K resistors to the left of the mouse port are labelled incorrectly. Actually, they are perfectly correct according to the schematic, so whether KiCad or I messed it up, at least it was consistent. 
Anyway, the only reason this is slightly important is that for the mouse add-on to work, on the ORIGINAL consecutively numbered board, the ODD resistors needed to be replaced with a wire link or 0R - and not ALL the resistors as I have said in the past. However, due to the renumbering, on these boards, the following resistors should be replaced with 0R:
Anyway, the only reason this is slightly important is that for the mouse add-on to work, on the ORIGINAL consecutively numbered board, the ODD resistors needed to be replaced with a wire link or 0R - and not ALL the resistors as I have said in the past. However, due to the renumbering, on these boards, the following resistors should be replaced with 0R:
- R100
- R102
- R103
- R106
- R108
- R109